There’s nothing a fresh manicure can’t fix! It’s now easier than ever to give yourself a salon-like experience in between your salon visits. All you need is some basic supplies and your favorite clean, easy-to-use VOESH manicure products for the best at-home manicure.
Here is a step-by-step guide to master your at-home manicure.
1. Start off with Mani Moments
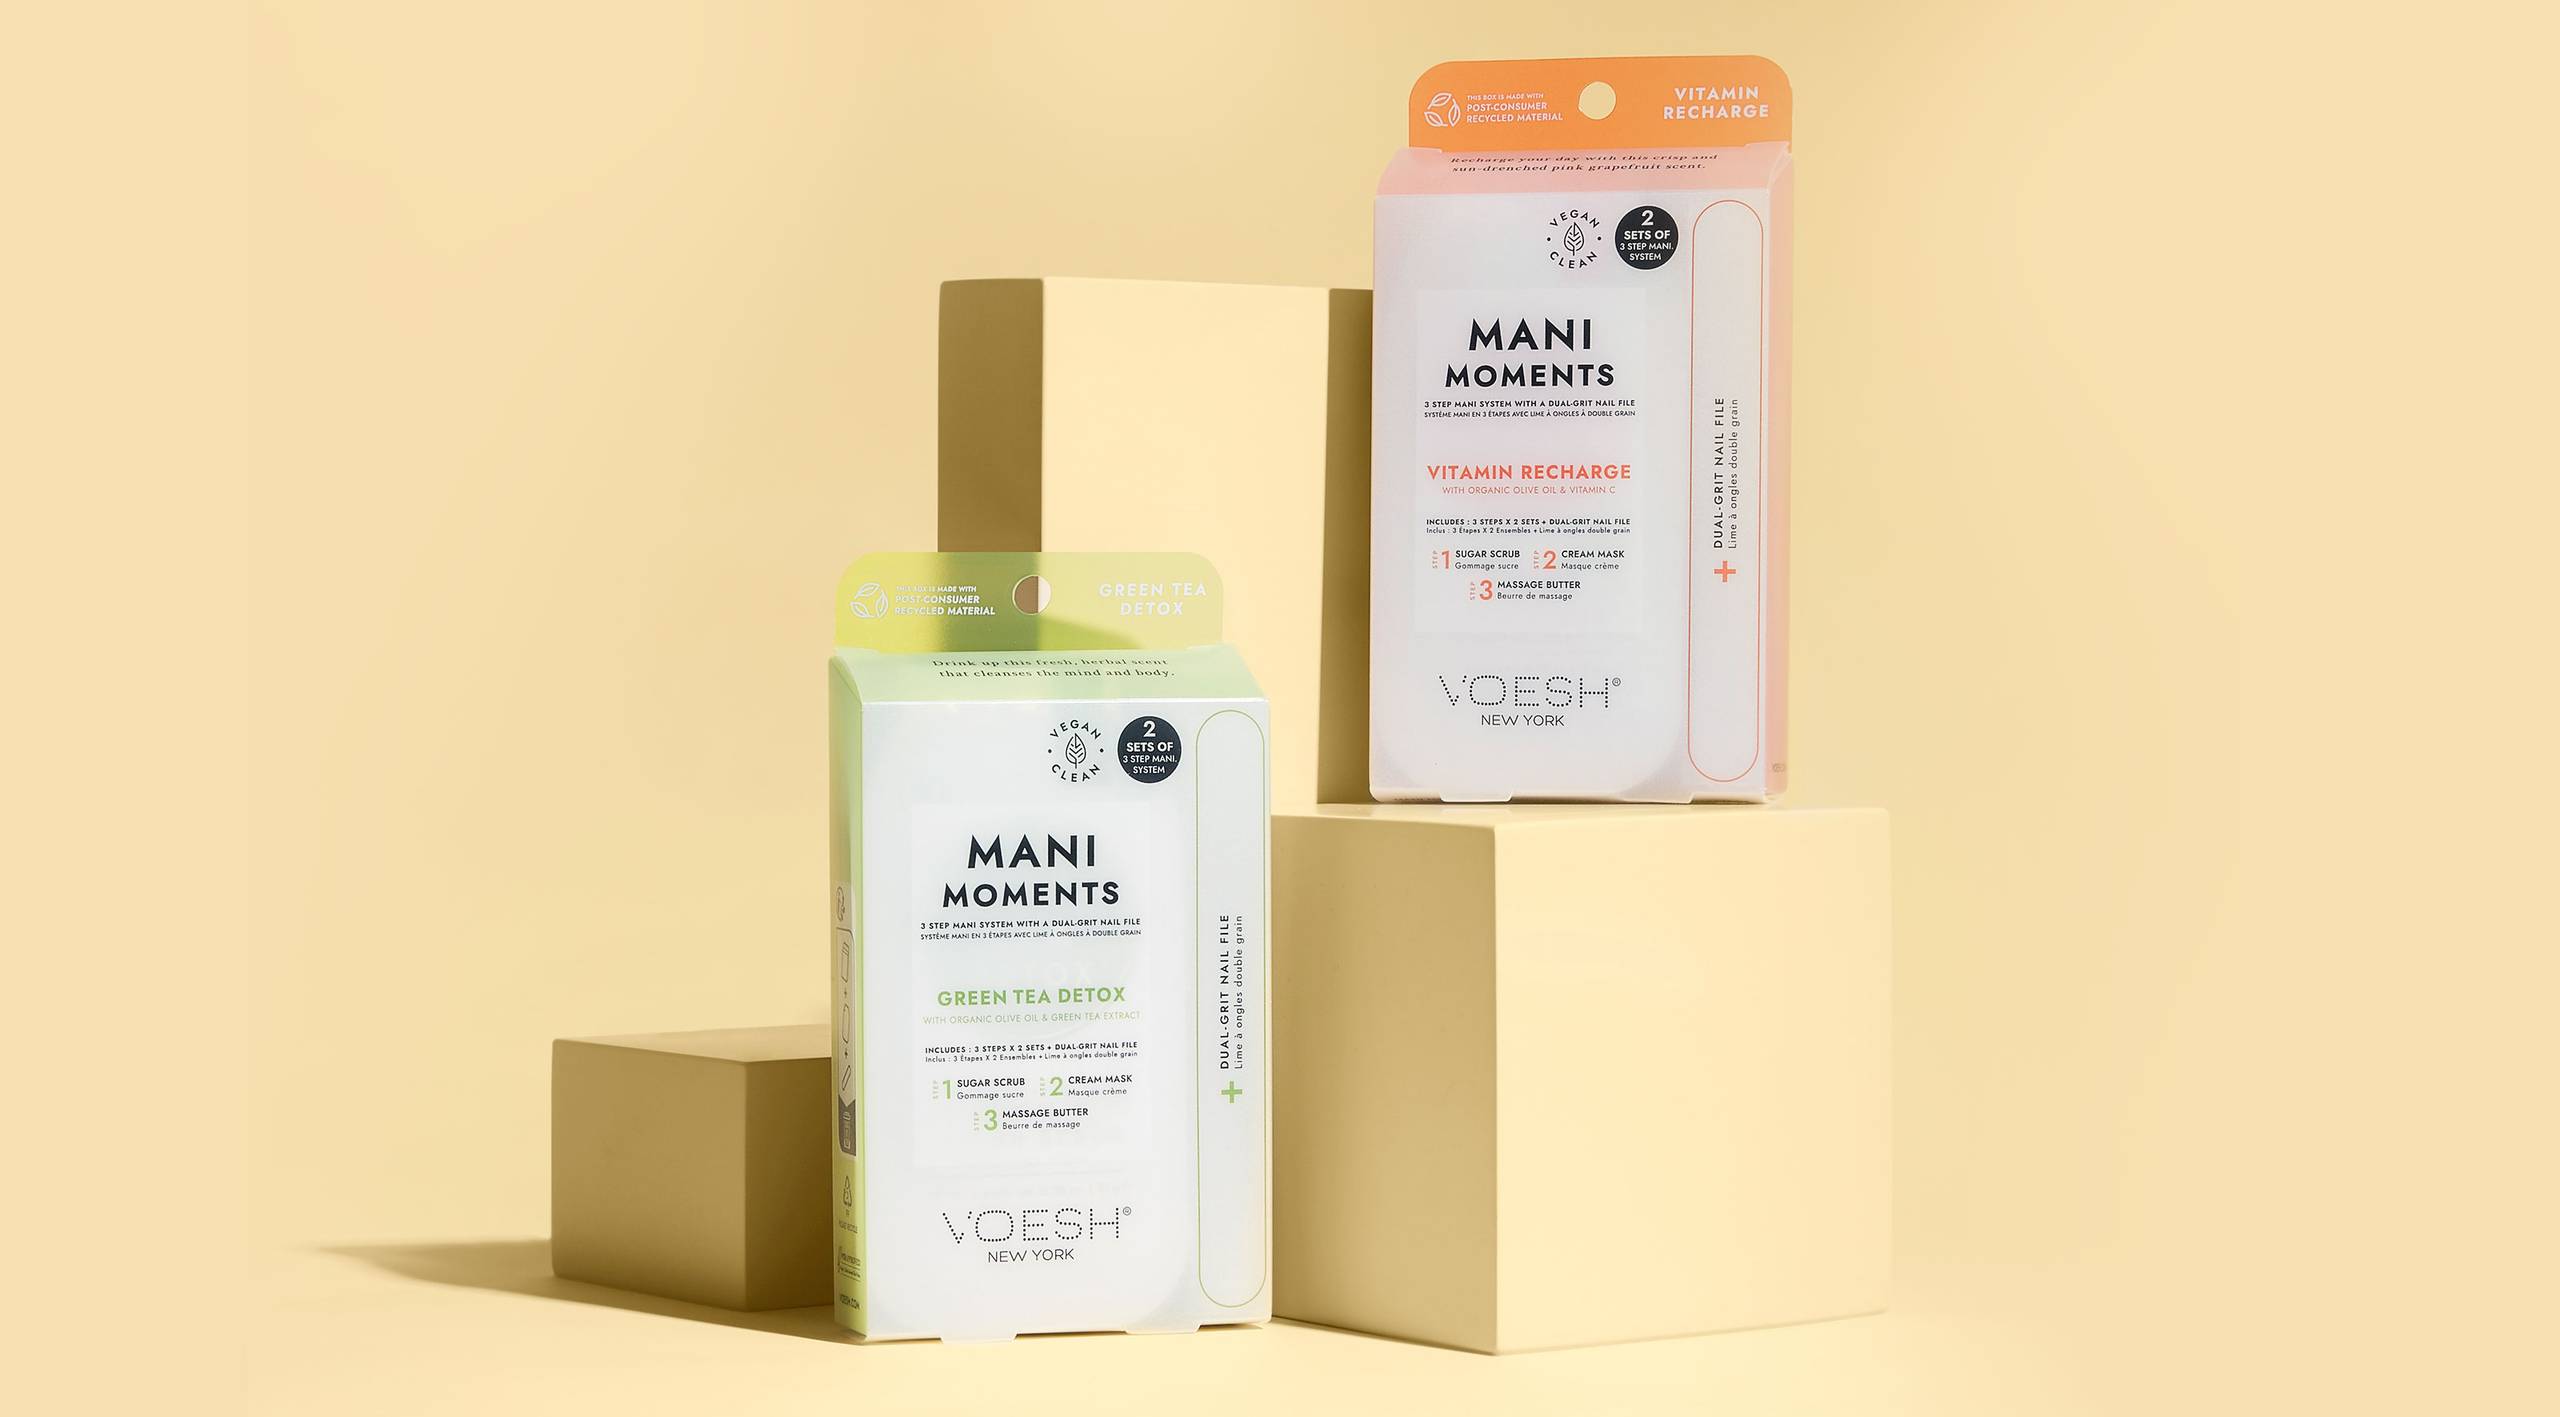
Give your hands the ultimate care with the VOESH Mani Moments kit. Mani Moments comes complete with 2 sets of Mani in a Box 3 Step and a dual grit Zebra Nail File, so you have two manicure treatments available in one kit! Each manicure treatment contains a Sugar Scrub to gently exfoliate dead skin, Cream Mask to condition & smooth skin, and Massage Butter to soften & soothe skin.
Here’s how to use it, step-by-step:
First, exfoliate with the Sugar Scrub to remove dead skin cells. Massage it onto your hands and forearms, then wipe it off with a damp towel. Next, use the Cream Mask to cleanse and condition your skin. Apply the mask to your hands and leave it on for 3-5 minutes. Wipe it off, then pat your skin dry. The last step is to soothe your skin with the luxurious Massage butter for instant hydration. Apply onto hands and arms and gently massage until absorbed.
2. Deeply Moisturize Hands, Arms, & Elbows
Let’s help your skin retain moisture! We recommend our Youth Therapy Elbow-High Gloves after using our at-home manicure kit for an intensive hydrating treatment that benefits your hands, arms, and elbows. After putting on the gloves, secure the attached sticker for a perfect fit! Leave the fingertips on for 3-5 minutes, then remove them (yes, they have removable fingertips!) to prep your nails. If you don’t have a pair of gloves, you can moisturize your arms and hands using your favorite body lotion.
3. Clip & Snip!
Trim any excess nail growth with a nail clipper to achieve your desired length. If you prefer keeping your nails long, feel free to skip this step.
4. File Away
Use the nail file from your Mani Moments kit to buff your nails into your favorite shape. This step allows you to get creative with your nails and try different shapes if you want to! Some of the most popular choices for nail shapes are square, round, or oval, but the choice is always up to you.
5. Buff Your Nails
Use a gentle buffing block to smooth the surfaces of your nails and eliminate ridges. Buffing your nails will add some shine to your nails and help your polish last even longer. However, be careful not to buff too much, or your nails may become thin and brittle.
6. Care for your Cuticles
Don’t ignore those cuticles! Apply a cuticle oil or cream to soften your cuticles, then use a cuticle pusher to gently push back excess skin to make your nails appear longer.
If you really need to, you can remove unruly cuticles with a trimming tool. But be careful: there’s always a risk of cutting your skin. Gently snip off the edge and do not pull it off from the base.
7. Paint Your Nails
It’s the most fun part of your manicure: painting your nails! Always remember to start with a clear base coat to prevent pigmented nail polishes from staining your nails. Choose your favorite nail polish color and apply it evenly in three strokes: one directly down the middle, followed by one on the left, then one on the right. After your first coat dries (usually in about two minutes), apply a second coat using the same strokes for more coverage.
Remember to apply your nail polish in thin strokes to avoid a clumpy appearance. If you prefer to keep your nails natural and bare, you’re welcome to skip this step or stick to the clear polish!
Tip: If you are new at painting your nails, try using a lighter color at first to practice, so any mistakes are less visible. And keep trying—we know nail-painting can be messy, and it may take a few tries to reach your desired result!
8. Add the Finishing Touches
Tidy up any mistakes around your fingers with a cotton swab or cotton ball soaked in nail polish remover. Then, protect your work of art with another clear top coat to prevent polish from smudging or chipping. The top coat helps your nails last so much longer!
Let your nails dry for approximately 10-15 minutes. If you like using a fan to dry off your nails, don’t put your nails too close to it—your nail polish may bubble.
9. Remove the Youth Therapy Elbow-High Gloves
If you used the Youth Therapy Elbow-High Gloves, take them off and say hello to silky-smooth skin and fresh nails. After you’ve ensured your nails are dry, remove the gloves and massage excess lotion into your hands, arms, and elbows for rejuvenated skin.
DIY nails have never been easier with these 10 simple steps—now you know how to do a manicure at home for times when you’re waiting for your next salon appointment. We’d love to see your results, so be sure to post your fresh manicure photos on social media with the hashtag #TakeAMoment.
